


Launch Rise School Management
Step 1. Go to Rise School Management via the unique link that was created for your School.Please email us at info@riseaccounting.com, if you haven't received your a unique link for your School.
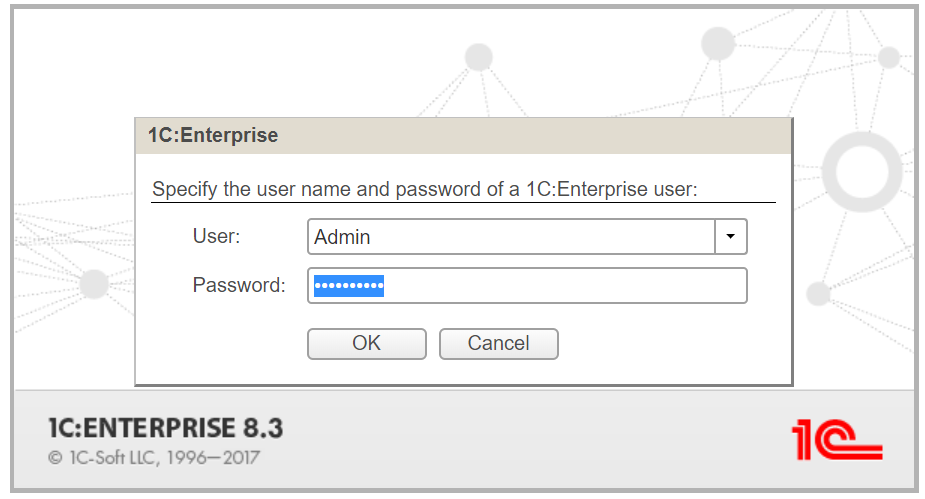
Step 2. Insert Admin into a user field and your unique password into the password field, as shown below.
Getting started
On the first launch you will see Getting started window.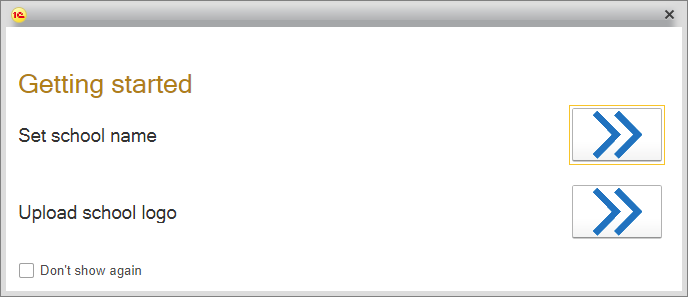
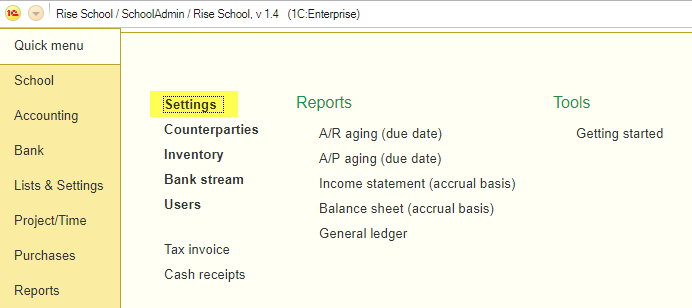
Buttons with blue arrows will navigate you to the Settings form.
In the Settings form you will be able to specify your School name and upload School logo.
On the
Company info tab specify Company Name
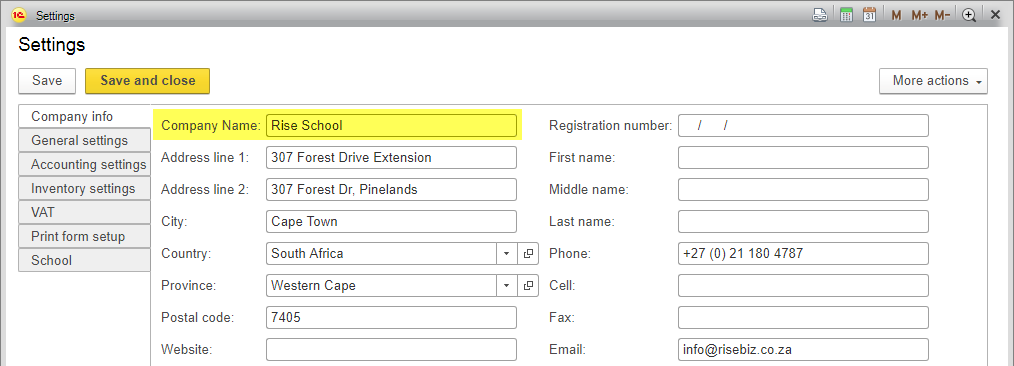
On the School tab click Upload button to upload School logo
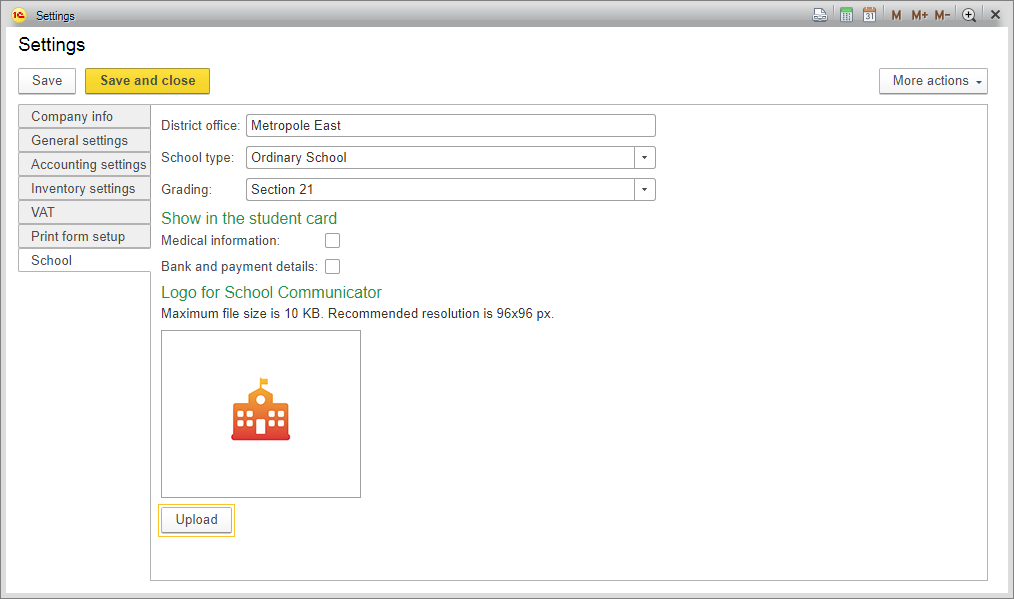
You can change School name and School logo at any time in Settings form. To open Setting form open Quick menu panel and click Settings.
Content for Rise School Communicator
Open School section on the left, as shown below.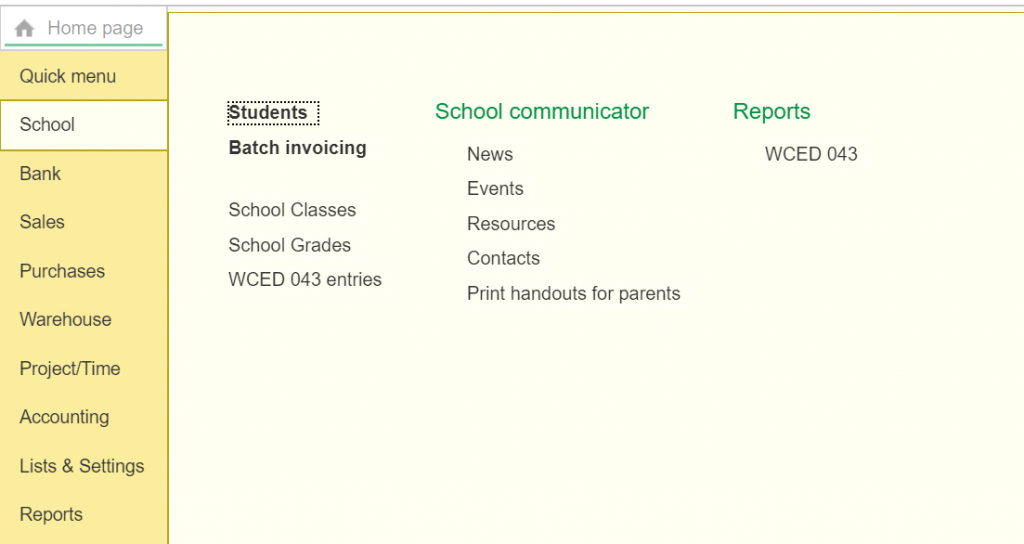
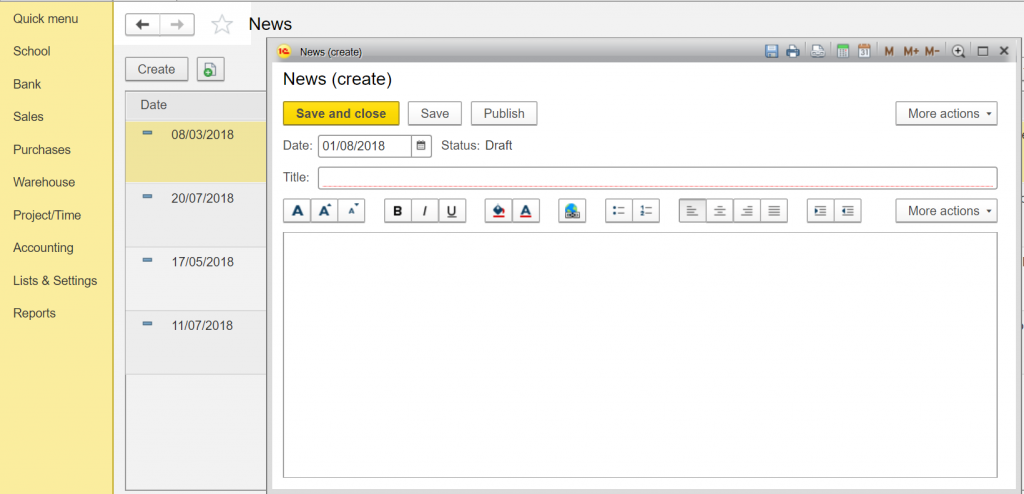
News
Select News on the School tab.Click Create button to add news.
Type in a Title and the text for your news. Click on save and publish, once you are done.

Events
Select Events on the School tab.Select period in the planner or click Create button on List tab to add new event.
Choose a start and end date for the event. Make a description of it. Click on Save & Close.
Resources
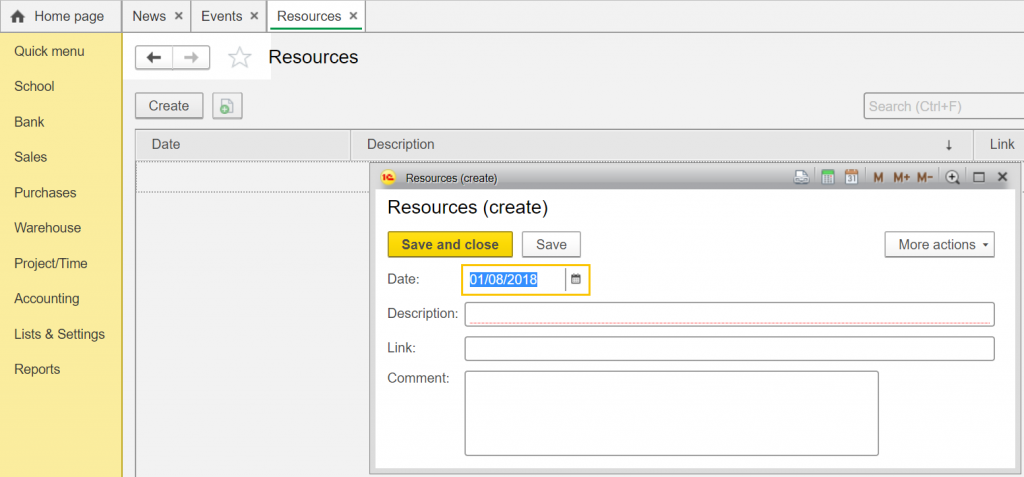
Select Resources on the School tab.Click Create button to add new resource.
Choose a date, a link to the external resource and a description for Parents.
Resources on riseschoolmanagement.co.za
Contacts
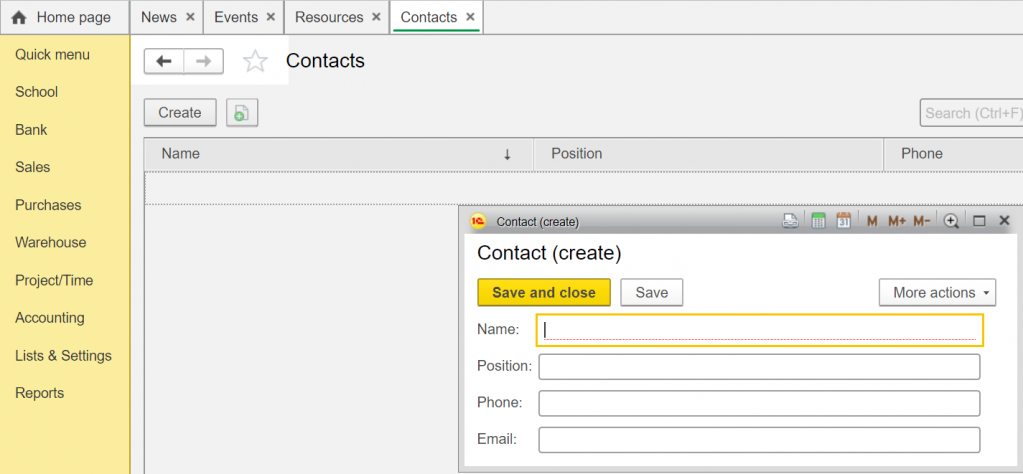
Select Contacts on the School tab.Click Create button to add new contact.
Fill in Name, Position, Phone and Email.
Handouts
Choose Print Handout for Parents.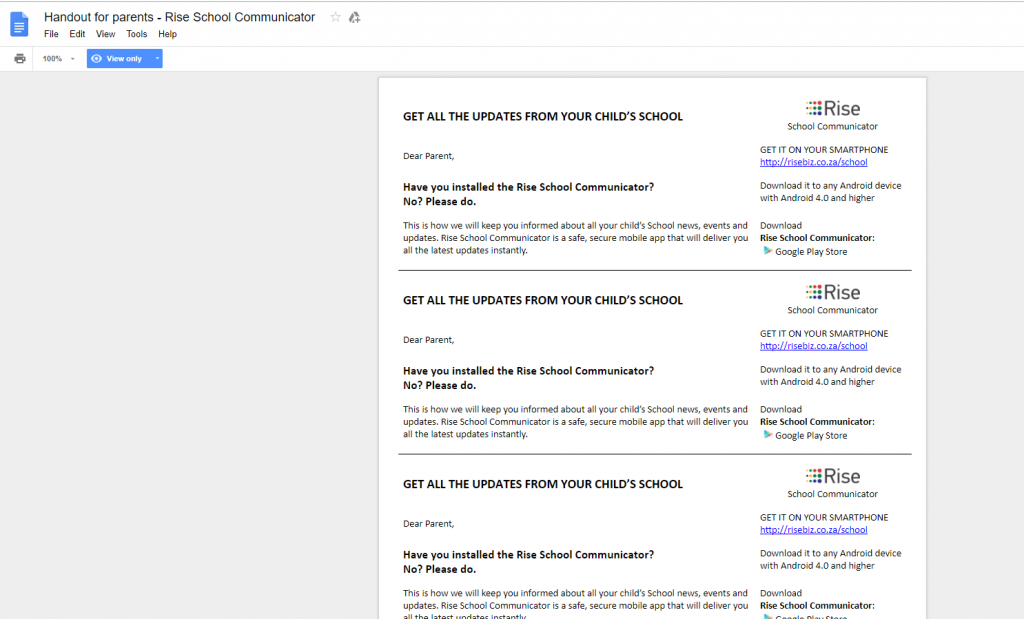
If you have any other questions on how to use Rise School Communicator, please email us at
info@risebiz.co.za
or phone us at +27 (0) 21 180 4787


